
As we know, NodeMCU is an open-source IoT platform for Lua based firmware developed for ESP8266. Espressif Systems developed this amazing board. Usually, NodeMCU comes with an inbuilt Lua interpreter, but the preferred way is to program NodeMCU ESP8266 with Arduino IDE. NodeMCU is one of the most widely used development.
What is NodeMCU?
As discussed earlier, NodeMCU is an open-source IoT platform. There are different boards available with NodeMCU firmware such as Lolin, Wemos, etc. NodeMCU has on-chip SoC WiFi available with 12 GPIO and 11 usable GPIOs. NodeMCU comes with an inbuilt Lua interpreter. We can also program NodeMCU with Arduino IDE.
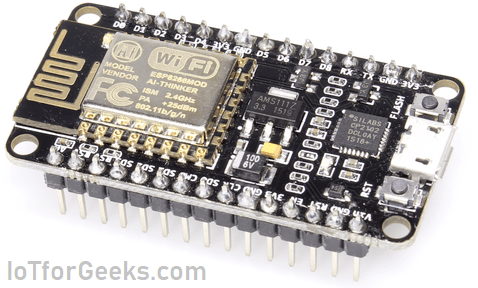
NodeMCU costs around $3.5. It is used in various IoT applications. It has one micro-USB port which we can connect to the Laptop or PC for programming. In this tutorial, we are going to program it from a micro-USB serial port. Before Programming NodeMCU with Arduino IDE, we need to install the NodeMCU board in Arduino IDE. So, let’s see the Steps to install the NodeMCU board in Arduino IDE.
Steps to Program NodeMCU
Now let’s get started with the steps to program NodeMCU with Arduino IDE.
Total Time: 30 minutes
Download and install the latest Arduino IDE
The first and foremost thing we will require to program this microcontroller is Arduino IDE. So, first, we will install the Arduino IDE. Depending on the OS you are using, install a respected version of Arduino IDE. You can download Arduino IDE from HERE.
Add ESP8266 board preferences
After installing Arduino IDE, we have to install the NodeMCU board in Arduino IDE. For this step, we have to add board preference for the NodeMCU board.
Go to File > Preferences
The preference window will open. In Additional Boards Manager, paste the link below:
http://arduino.esp8266.com/stable/package_esp8266com_index.json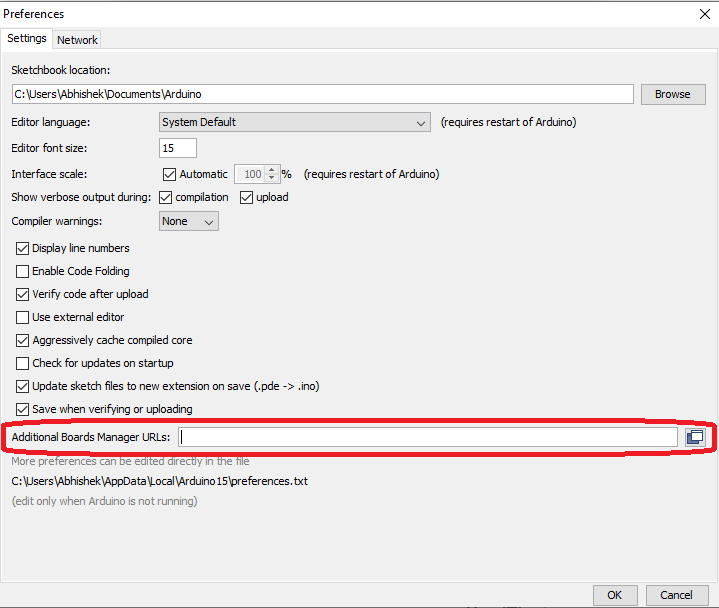
Install ESP8266 Board in Arduino IDE
First, open Boards Manager in Android IDE.
Click on Tools > Board > Boards Manager.
Now, after this, the Arduino Boards Manager will open.
In the search box of Arduino Boards Manager, search esp8266.
As shown in the above image, you will find the board with the name “esp8266 by ESP8266 Community”. Below this, choose the version and hit install.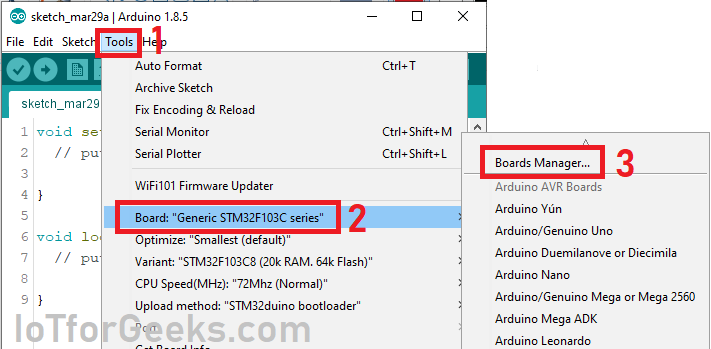
Install USB serial drivers
As we will program NodeMCU esp8266 from Laptop/PC, there should be a USB to Serial converter. There is an on-chip USB to Serial IC on NodeMCU. For your NodeMCU, the USB to Serial IC may be SCILAB CP2102 or CH340G. Mostly, if you are using NodeMCU version 0.9, then it will have SCILAB CP2102. For NodeMCU version 1.0, it is CH340G. You can download the required driver from the link given below:
Click Here to DOWNLOAD CH340G driver setup
Click Here to DOWNLOAD SCILAB CP2102 driver setup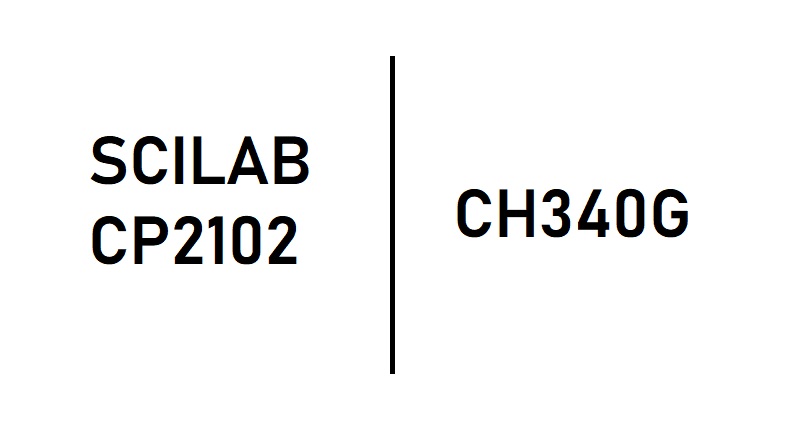
Connect to Laptop/PC and program ESP Blink
As shown in the above image, click onFile> Example > ESP8266 > Blink
Now, a new window will open, with the ESP8266 Blink sketch example. In this sketch, you will find that, pin named as LED_BUILTIN is declared as output. This is pin number D13 for NodeMCU. In NodeMCU, pin D13 is internally connected with the onboard LED.
After programming NodeMCU esp8266, you will find the LED on NodeMCU is blinking with the given ON-OFF delay. You can change this delay by editing the code. We uploaded the code, just to ensure the NodeMCU is programmed or not. If LED is blinking with a given delay, hurrey, you just completed the setup of NodeMCU programming from Arduino IDE.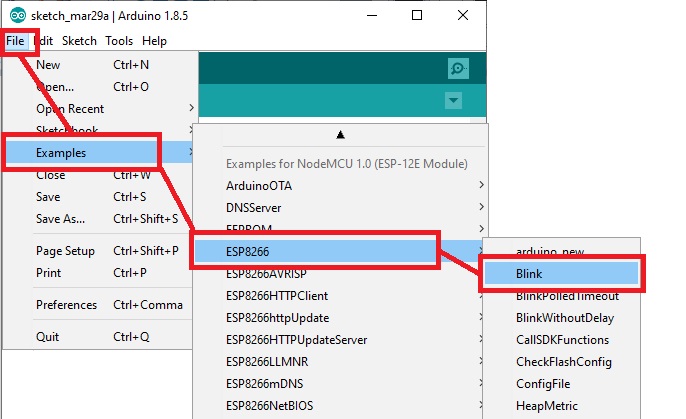
Is your program getting stuck at “uploading”?
Connect your NodeMCU to Laptop/PC and follow this sequence of Push buttons:-
- Press and hold the “Flash” Button + Press and release the “Reset” Button
- Now release flash button
The above steps will enable the program mode of your NodeMCU. Now click on the Upload button. You have resolved the issue.
Still unable to Program NodeMCU esp8266?
It may possible that you are still not able to program NodeMCU ESP8266. Check for if any below reason:
- NodeMCU not connecting to Laptop/Desktop (Mostly Driver issue)
Follow this troubleshooting guide for more.
File> Example > ESP8266 > Blink
I do not get these parts. plz help me I’m 13 yrs
shud I connect my node mcu to get those parts?